How to reduce microphone noise in Skype calls.
Updated: 19 Jul, 2019Introduction
Skype is a widely used VoIP service that helps millions keep in touch with friends and family and colleagues with it’s free voice chats, video calls and conference calls.
But let’s face it, calls with unwanted noises can be a real nightmare, especially when they drown out your own voice.
But fear not, following the tips and techniques below will help you reduce unwanted noises in your Skype calls and get you closer to the utopia of crystal clear audio.
These tips also apply to Skype for Business.
Use headphones
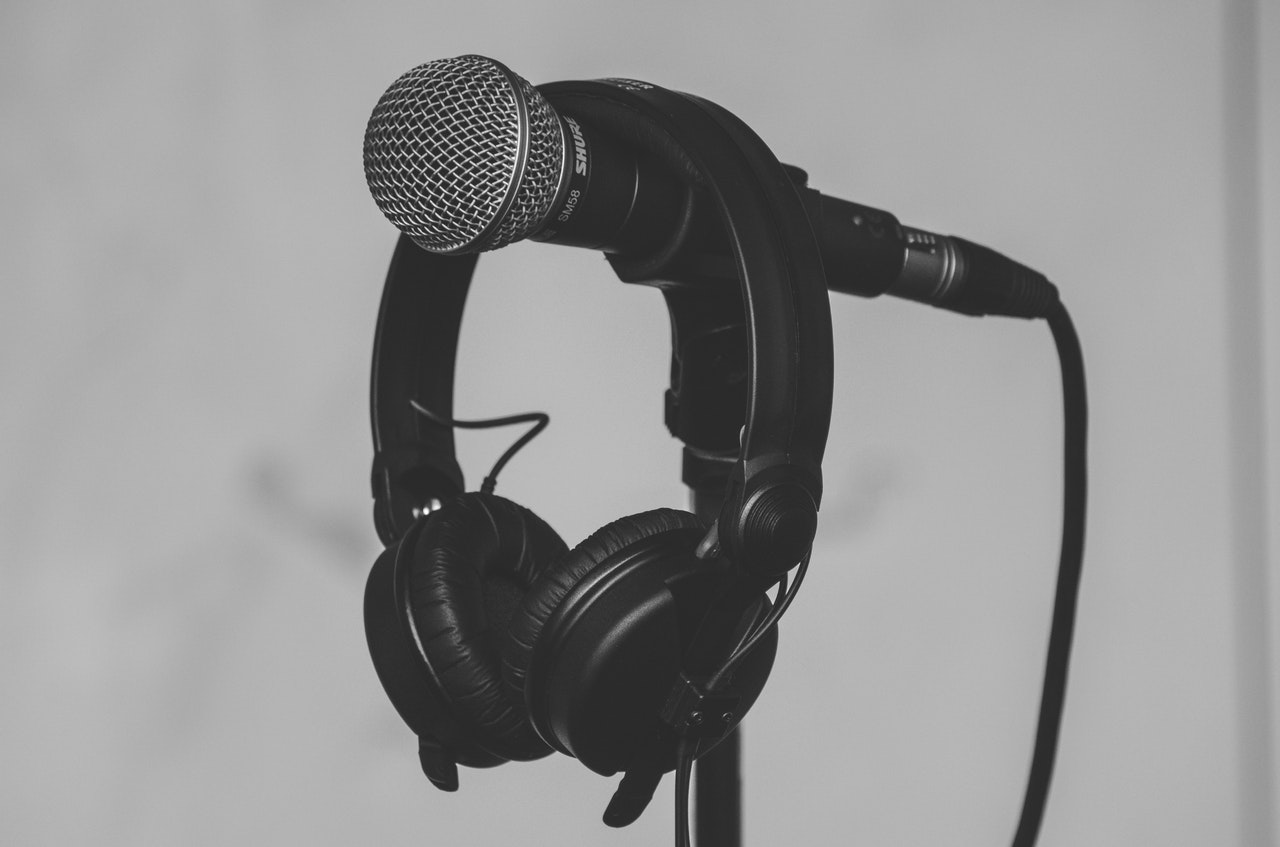
Wearing a pair of headphones prevents your microphone picking up audio from your computer or voices of callees.
In worse case scenarios, the sound is amplified and passed in and out, over and over again, resulting in an unpleasant loud squeal or screech (scientifically called the Larsen effect).
While Skype does apply algorithms for echo suppression and cancellation to outgoing audio, nothing is as effective as plugging in a pair of headphones to eliminate the source of that echo.
If you can’t use headphones, try to get as much distance as possible between your speakers and microphone to minimize any feedback.
Setup your environment
Take a look around you at your surroundings. Small changes can be hugely effective in stopping noise getting to your microphone.
Try to take steps to eliminate or minimize noise from environment. This is highly dependant on where you are, but here are some ideas to help you get started:
- Closing doors or windows to reduce outside noises (for example traffic).
- Is a fan pointed right at you? Try redirecting it away from your microphone.
- Are you right under an air vent? Try relocating away from the airflow if possible.
- If you are on a laptop, try and choose a quiet area when making calls.
- Turn off or mute the TV when on a call to minimize background noise.
Setup your microphone
Just like your environment, setting up your microphone optimally can make a huge impact. Microphones come in many shapes and sizes, and we’ve outline tips based on which type it is below.
Desktop / Studio
Positioning
Every microphone has a property known as directionality. This indicates from which direction and angle the microphone best picks up sound. Some microphones even include controls on them that let you change the directionality.
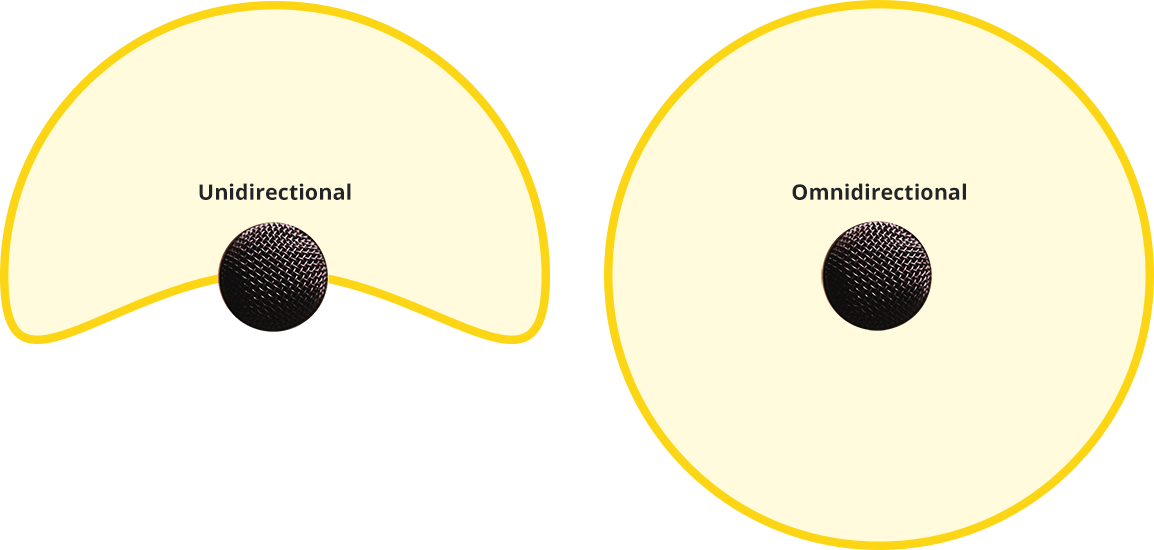
If your microphone is unidirectional or cardioid (picks up sound more from one direction) positioning can help.
You want to position the microphone so that it faces towards you, while any potential noise sources (keyboard, mouse, computer fans) are behind it.
See the image to the right for an example of this in practice.
See the image to the below for an example of this in practice.

This will maximize the volume from your voice, and minimize the sound from the noises.
Not sure what your microphone’s directionality is? Try googling the name of the microphone with the keyword “directionality”. Most manufacturers will disclose that information.
Bad vibrations
Desktop microphones can be very susceptible to vibrations. Knocking the desk can result in an loud unpleasant thud. To reduce this, try and ensure the microphone is mounted on a stable surface. A wobbly desk is more likely to transmit vibrations, even from small things like resting your hands or moving your mouse. Tightening screws, or even ensuring the desk is on a carpet can help reduce those vibrations.
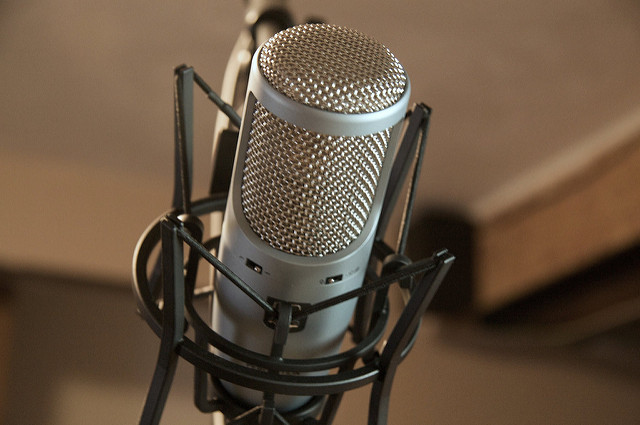
An accessory that helps isolate microphones from vibrations is called a shock mount. For most cases, these are overkill unless the problem warrants it (maybe your downstairs neighbour’s washing machine shakes the floor). They typically cost between $10 to $30. If you are feeling crafty, there are a variety of DIY solutions out there you could try.
Headset
Positioning
Headset microphones typically suffer less from background noise issues as the microphone is closer to your mouth. However they can be more susceptible to breathing and plosives noises.
To prevent this, ensure the headset’s microphone is positioned just past the corner of your mouth. Not in front of your mouth or nose.

The microphone will still be able to hear you clearly, but avoid any plosive distortion from breathing.
Software
Mute your microphone with a shortcut
Skype used to include a push to talk feature. Unfortunately, when Microsoft discontinued Skype Classic, replacing it with Skype 8, the push to talk functionality was removed.
However, in the latest version of Skype, there is a global keyboard shortcut that lets you mute and unmute your microphone. When in a call, use Ctrl + M (or Command + Shift + M on macOS) to toggle the microphone on when you talk, then press it again to turn the microphone off.
Unfortunately, it is not possible to change and reconfigure the shortcut. If you would like more control, you could try a global dedicated push to talk app, like MicMute or Talk Toggle.
Windows built-in enhancements
Windows 7, 8 and 10 come with the options to apply various noise reduction algorithms to your microphone.
However, these are only possible if your sound card supports them (which you can only can tell when you reach Step 4).
These can also affect the quality of speech, so experiment with these setting to see if they work for you.
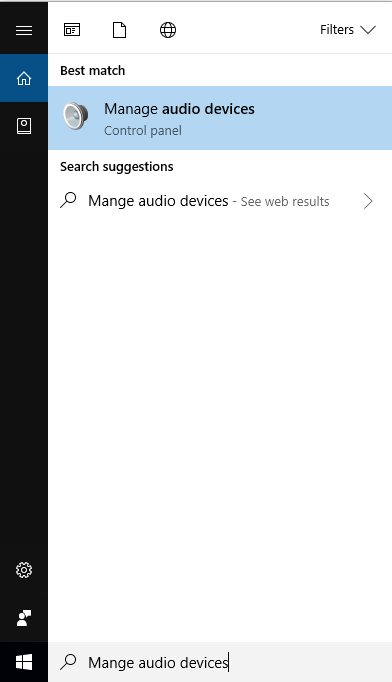
- In the start menu, search "Manage Audio Devices" then open the Control Panel result
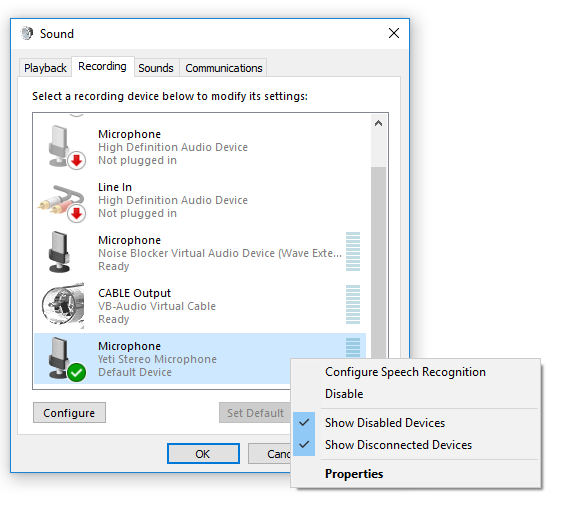
- Navigate to the “Recording” tab.
- You’ll see a list of your microphones. Find the microphone you are using, then right click on it and select “Properties”.
-
Navigate to the “Enhancement tab”.
As mentioned above, this tab will only be present if supported by your sound card. -
Ensure the following boxes are ticked
- Noise suppression
- Acoustic echo

Noise Blocker
We built Noise Blocker to help deal with a wide range of unwanted noises without affecting speech quality. Noise Blocker is an easy to use noise gate, which can be quickly configured to block out any sort of noise (background, fans, keyboard typing, etc).
Download and install Noise Blocker, then follow the instructions below.
Note: If you prefer, you can watch a video of how to set up and configure Noise Blocker in under a minute.
Open Noise Blocker
- Under the “Noises” list, click on “Add”.
-
Hit “Record”, to record a sample of the noise. Hit “Play” to listen
back and confirm the recording.
If happy with it, label it then hit “Save” (or hit “Record” to re-record).
Repeat and record as many samples as needed for the offending noises (for example one each for static, fan noise, keyboard or mouse clicks). -
Adjust the “Noise Reduction” and “Threshold” settings gradually so
that your voice still comes through, but the offending noises are
blocked.
Tip: Using "Listen to this Device" for audio feedback.
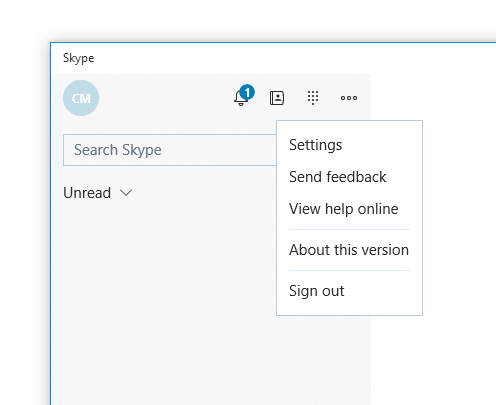
In Skype, we need to switch to use Noise Blocker's virtual microphone.
- Click on the "..." then select "Settings"
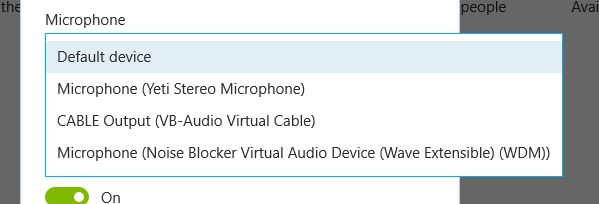
- Under Microphone, Select "Microphone (Noise Blocker Virtual Audio Device (Wave Extensible) (WDM))"
And that's it!